
Yesterday, I told you about a great site to find and download new fonts. You can click here to check out that article. Today, I’ll show you how to install the fonts on your PC.
This method will work for fonts downloaded from other sources as well. The fonts should appear in the Downloads folder in .zip files.
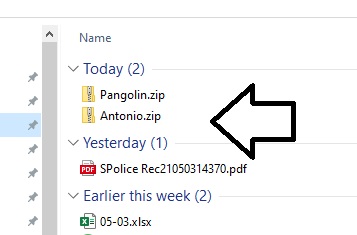
Select the folders.

Click Extract at the top of File Explorer.

Choose Extract All.

You can then choose a destination file. It should default to Downloads. I’d stick with that and click Extract.

Your fonts are now extracted and ready to be installed. Click on the individual folders containing the fonts to open. You must open the folder to install the fonts.

Select all the fonts in the folder, then right-click. Choose Install from the drop-down menu.

It shouldn’t take long for the fonts to install. Repeat the process for all the fonts you’ve downloaded. You could also choose to click and drag the fonts into your fonts folder.

That’s all there is to it. Your fonts are ready to use! Enjoy.
I have the fonts downloaded but i can’t get them on a document and doesn’t show up on my fonts. I use OpenOffice 4.1.4 but they don’t show up there. How do I get them to that program
It would be nice if you included a link to the site.
The link to the font site is in part 1 of the article: Click here to visit Google Fonts: https://fonts.google.com/