

We’ve been learning all about the free OpenOffice Suite this week. I showed you how to download and install and gave you a quick look at the free word processor, Writer. Today, we’ll continue that look.
To learn how to download and install OpenOffice, click here.
To start a tour of Writer, click here.
To print, save, or export your document in Writer, click the File tab at the top left.
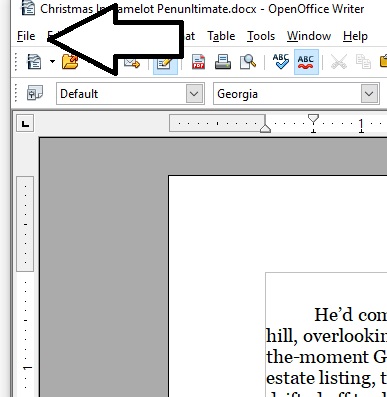
When the menu opens, you’ll see a bunch of options. The first two are to create a new document, open an existing one, or view recent documents.

To save your work, you can choose to Save, Save As, or Save All. You’ll also see a Save icon on the menu ribbon at the top of your document.

To save your file as a PDF, choose Export as a PDF.

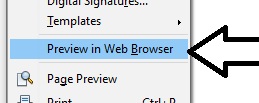
Choose Send to send your document via email or save as an HTML.

Click on Preview in browser to see what the HTML doc will look like.
Your printing options are at the bottom of the menu.

Page Preview shows what your document will look like when you print.

The print menu will open. You can choose the number of copies, which pages you want to print, and select your preferred printer.

Click the tabs at the top for more options.

You can choose to leave off things like graphics and page backgrounds or choose to have all text printed in black.

Page Layout lets you choose single or double-sided printing or brochure style.

Your final printing option is to click on Printer Settings.

Choose your printer or click Options for additional choices.
