

A watermark can be a useful feature to add to protect your documents. As a writer, I always add a watermark to works I need to share with other before publication as a protection against the items being pirated, but there are many uses for a watermark ranging from security to simply decorative. Here’s how to add one in Word.
Open Word and either create a new document or open an existing one. Click the Design tab at the top.

Then select Watermark.

A menu will open with several text options: Confidential, Do Not Copy, Draft, & Sample shown either diagonally or horizontally.

I’m going to click on the first one. Here’s what it looks like on the blank page.

Here’s what it looks like with text over it.

If you’d like to use different text than what’s offered, click on Custom Watermark at the bottom.

Select Text Watermark and then type in the text you want to add.

You can also adjust the font, the size of the font and the color. Plus select a diagonal or horizontal layout. Click Apply when you’re satisfied with the look.

Here’s my customized watermark.

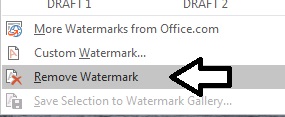
Remove the watermark by clicking Remove Watermark at the bottom of your watermark menu.
You can also find additional watermarks at Office.com or add your own images. Click here to learn how to add images.